In this Post
Disclaimer: please note that this blog post contains general information around the given topic, on an ‘as is’ basis, for discussion purposes only. It is not professional advice and shouldn’t be treated as such, nor used as a substitute for a licensed professional. Readers use this information at their own risk.
After quite a bit of research, we ruled out camper rental for our planned tour of Patagonia in 2022-23. Doing the maths, for a van without off-grid facilities, it was going to cost us £1,000 a month or more, for something that wouldn’t be ours at the end of the trip. Really cool that the option is there, but it didn’t make sense for us to rent in this instance, since our trip is for a year.
Facebook groups are a great place for van life advice and also to get recent info on planned routes for trips. After perusing the Overlanding Buy and Sell – Americas group, we resolved that we also didn’t want to buy a vehicle in Chile/Argentina due to the high price of vehicles in the Americas and what we would get for our money. (Campers for sale in the Americas that we found were high mileage and much older vehicles.)
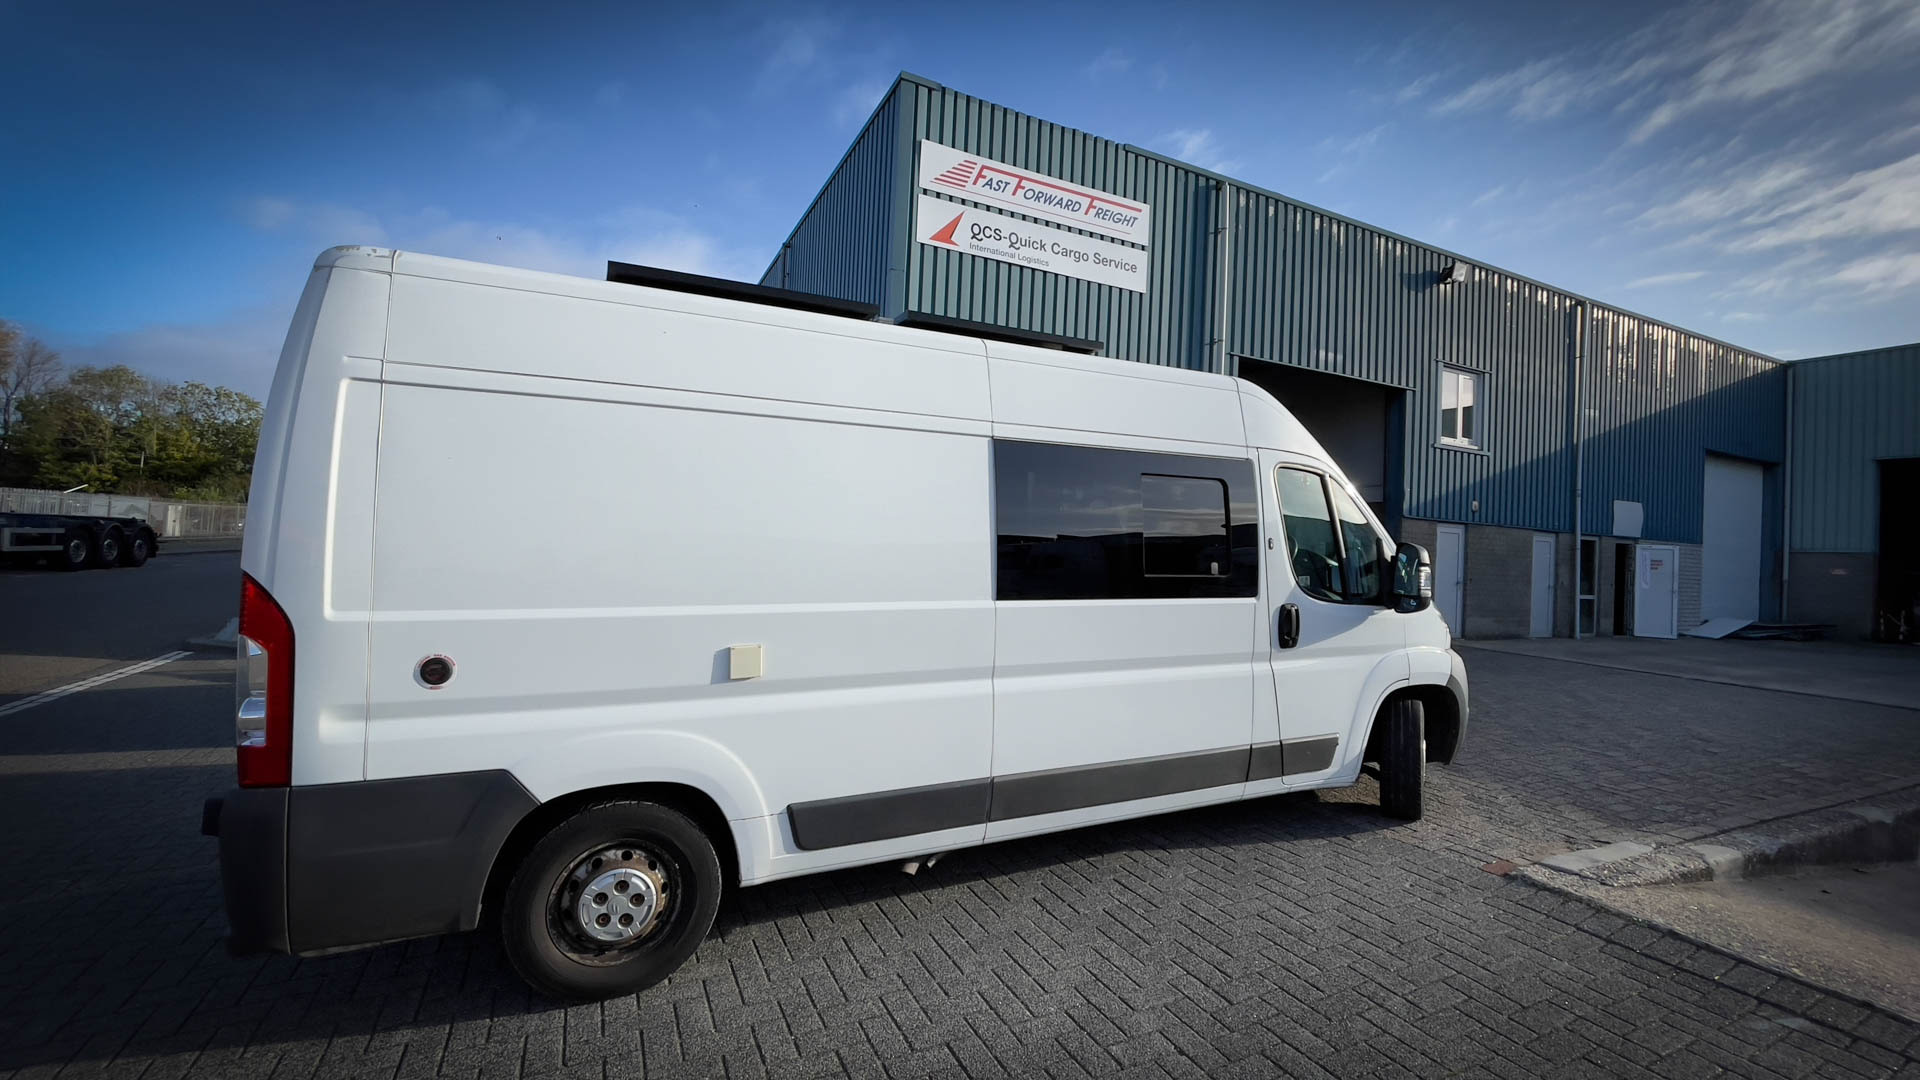
In the end, we opted to buy a stealth van conversion in the UK and ship it over from either Antwerp (Belgium) or Rotterdam (Netherlands) to a port in South America. There are different ports to choose from on either side of the Atlantic. We chose to ship from Rotterdam to Montevideo, (Uruguay) as it has cheaper import fees and isn’t too far from Argentina, where we planned to start our road trip.
Headlines (Nov' 2022):
- Shipping our van directly from the UK to South America was not a possibility at the time of organising this trip.
- Shipping from Europe to South America took around 4 weeks. It is possible to physically go in the ship for an inflated price, but most people fly over and collect their van from the port on arrival, like we did.
- Booking 4 weeks in advance of shipping was ideal – to get the best chance of securing a booking. Finalising a booking takes time.
- Cost wise, the hierarchy is: i) sharing a container, ii) RORO (Roll On Roll Off), iii) sending a single vehicle in a container.
- Rotterdam to Montevideo shipping cost us (shipping and import fees) a total of £3,055 for one way incl. marine insurance (prices vary week by week). In our trip budget, we classed this fee as ‘accommodation costs’.
- Campervans can be marine insured as ‘cargo’ while being shipped, but we had to request it and get a certificate for it. (This is definitely recommended.)
- We had to drop off our campervan at the freight company in Rotterdam 4+ days before it was shipped.
- Preparing the campervan to ship (cleaning inside and out, degassing, removing all prohibited goods -flammable, dangerous, compressed- and safely packing items to ship) took us 3 full days.
- It is possible to take personal possessions inside the campervan if you have a container buddy, but there are strict custom requirements which usually means no food, medical supplies, dangerous goods etc. It is also possible to take stuff in the campervan with RORO (see below), but apparently there have been security issues reported previously.
- We were unable to find fully comprehensive insurance for driving a UK registered vehicle in South America. Third party insurance is mandatory and we had to find that locally. There may be other options for vehicles registered in other countries.
10 steps to ship:
1. Decide how to ship: RORO or Container Shipping
RORO = Roll On Roll Off – think huge ferry ship carrying vehicles
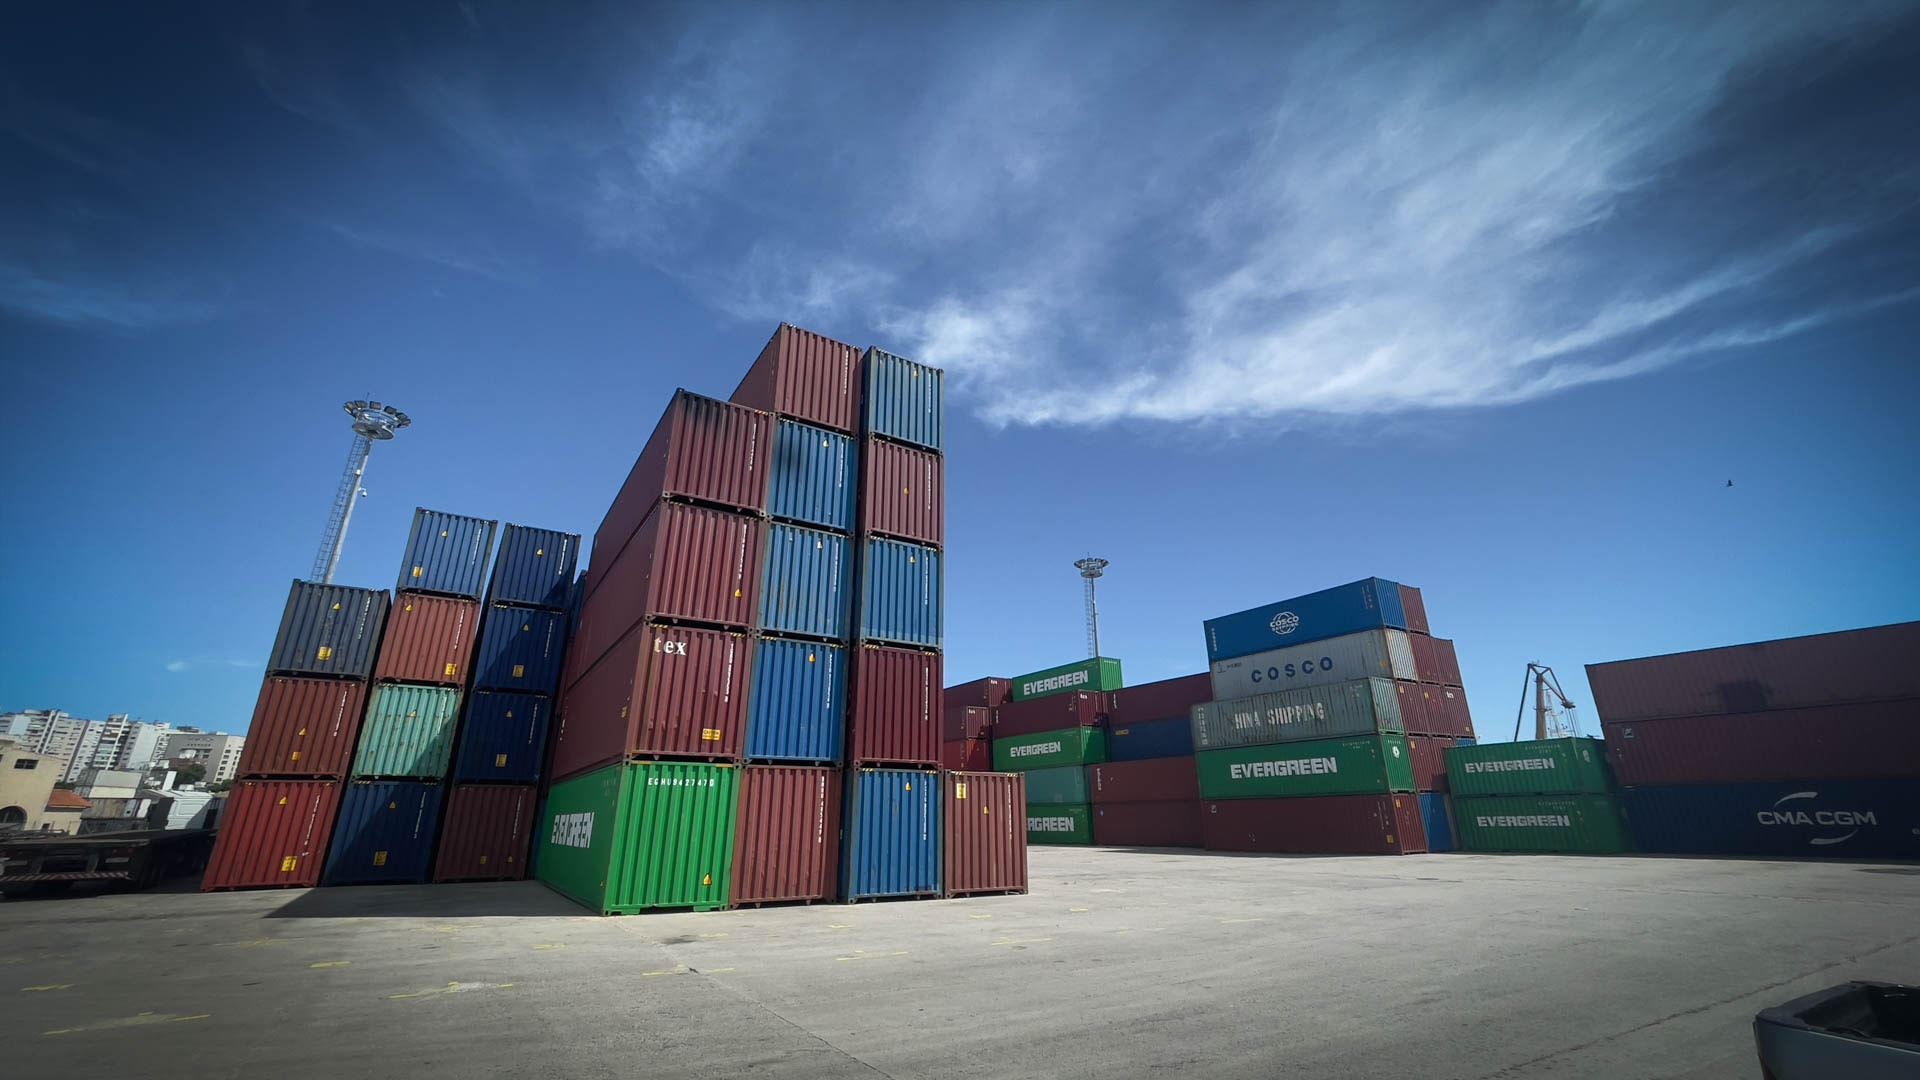
Container Shipping = think large containers stacked on a ship where contents vary
There are three things to consider when deciding this: budget, how tall/wide the campervan is and how many personal possessions will be shipped.
- Container shipping is more expensive than RORO, but sharing a big container makes container shipping slightly cheaper than RORO (at the time of our shipping – Nov’22).
- The dimensions of a vehicle will assist in working out if it’s possible to ship in a container: The container door of a ‘High’ container is 2.57m high and 2.34m wide – anything bigger than this won’t fit in, plus it’s worth allowing some space for movement out/in/during shipping. If it’s bigger than this, RORO is the only option.
- To transport stuff inside a campervan when it’s shipped (especially heavy stuff that might not be able to fit on flights – e.g., we have lots of climbing and cooking gear), the safest option for us was to find someone to share a shipping container with. Our campervan and their vehicle with personal possessions all together in one 40ft “High” container (internal dimensions: 12.03m long x 2.35m wide x 2.69m high – remember, door is 2.57m). For someone who doesn’t take stuff and isn’t so concerned about safety, RORO might be the best option.
2. Find a container buddy
There are three ways to find a container buddy: in a Facebook group, on the Container Buddies website, or have the selected shipping company help to find a match. We downloaded the app, but it wasn’t returning any matches, we also put an add out on Facebook in the go to PanAmerica Travel Association group and luckily we did get a response to a post we put up there. Our buddies had a Toyota 4×4 and our van is a Citroen Relay. We worked out that together they’d fit in a container and agreed to split the costs 50:50. For anyone who goes for a container buddy, it is important to check that both vehicles would fit in the container with the shipping company and also confirm how shipping costs and import fees will be split. (It’s normally 50:50.)
3. Choose the port of departure and arrival
4. Choose a Shipping Company (Carrier)
Update March 2024: There are various shipping companies that ship to and from Europe. After we found our container buddies, we decided to go with IVSSUK to facilitate our shipping, but are unfortunately unable to recommend them. We had a very positive outward journey experience, however upon our return shipping, it became clear that they are a small company without much influence/experience in the face of any port issues, which almost doubled our shipping costs, delayed the arrival of our cargo and drained our finances.
Based on our experiences and if we were to ship again, we would most likely use Rotterdam exclusively as the European port (we return shipped to Felixstowe, but learnt that UK Border Force systems are unreliable and can potentially cause lengthy, costly delays).
We would also ensure to go with a well established shipping company that is confident enough with their experience to cover extra costs should they arise (as a few that we didn’t go with offered during quotation stage) – or is at least very upfront and transparent about the magnitude of extra costs in the face of delays/detention, should they arise.
While Booking - Our Checklist
- Ensure vehicle will fit through container door and share dimensions with selected shipping company before booking.
- Clarify which port of departure and arrival is preferable.
- Confirm cargo insurance with Carrier and obtain certificate (recommended).
- Opt for an agent in the arrival port (recommended, even though we both speak Spanish!)
- Confirm total cost in writing and clarify how costs will be paid (£/$/€) and split with container buddy (who should be cc’d into all emails.)
- Request shipping requirements to see what can/cannot be shipped, (a gas tank for example requires a gas free certificate, like our fixed LPG tank did). The shipping company should provide an extensive list of requirements, but below is what we had to adhere to.
- Confirm drop off date at departure port and estimated date of arrival in destination port.
- Have flexibility (tickets/accommodation) for the dates around the supposed arrival of the ship at the destination port. We were there beforehand to start the admin processes necessary to collect our campervan and our ship also arrived before its expected arrival date.
After Booking
Use calendar to mark the shipping dates and work backwards. We had to drop off our van 4 or more days before the shipping date and had to factor in an extra 2-3 days prior to that to prep it for shipping. (We were already on the road, and it really did take that long!)
5. Find a place to carry out shipping prep
As wild camping is illegal in the Netherlands and open campsites out of season are rare, we were lucky to find a marina to park-up at and prepare it for shipping from Rotterdam. The place was called Havenkantoor in Dinteloord, just 35 mins drive from Rotterdam Port and charges €18 per night for a safe and beautiful setting (including great shower and camper facilities). They have a lot of space to park up, bins, black and grey water disposal, and even some bikes to borrow.
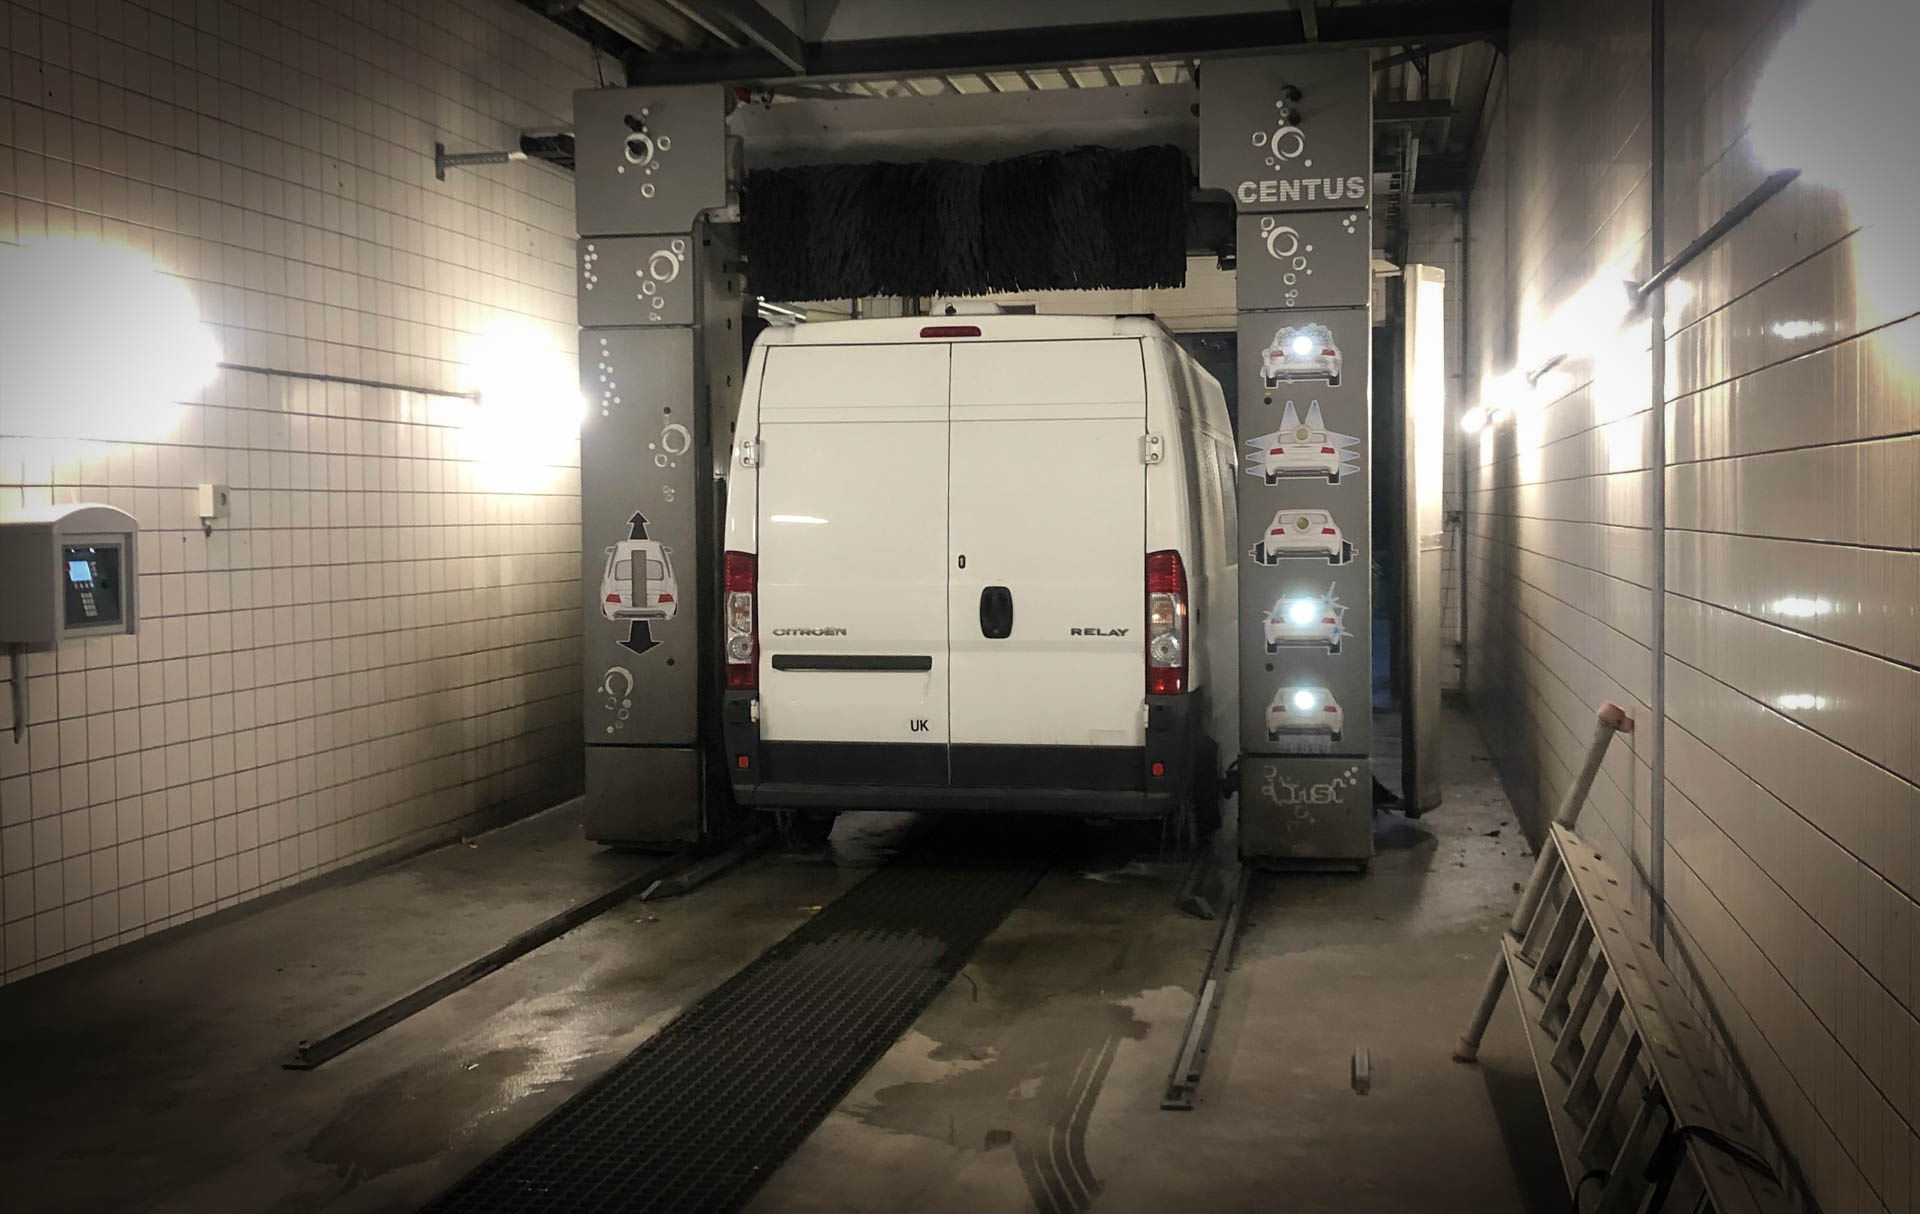
Dinteloord town centre nearby has (a great bakery) and also a large BP station open until 9pm daily, with an automatic car wash that fit our 2.5m x 2.3m wide van through it. It also has manual powerful jet washes and ample hoovering facilities to help with cleaning. Both of these are coin only – but cash is the norm in the Netherlands anyway. We had about 20 Euros in coins for our BP visit and spent about 5 hours doing everything there. People were really helpful there and spoke great English.
SHIPPING PREP: OUR CHECKLIST: (always confirm exact requirements with shipping company)
- Complete full interior and exterior clean of the vehicle: all earth/mud should be removed as a customs requirement and depending on the port, to avoid fines when dropping off/collecting vehicle.
- Ensure any possessions are on an inventory and secured tightly. Ensure compartments and drawers are tightly closed (even taped as we did) so they won’t open during shipping. Ships can move a lot whilst crossing and an inventory ensures the insurance is aware of the contents.
- Gas free/no gas certificate for fixed LPG gas tank like we had.
- Plan for fuel to be in the red by drop off.
- Ensure water tank is empty by drop off.
- Disconnect Leisure battery from the vehicle battery to avoid drainage over the crossing.
- Complete Motor Vehicle Condition report pre handover, take photos of vehicle and mileage (to submit to insurance company.)
- Ensure vehicle is clear of prohibited/hazardous items inside the van (see list below). This could prevent the vehicle from being able to ship, it could mean it needs to be shipped as hazardous goods, or incur a heavy fine at port of arrival.
Prohibited items:
These are the requirements we had to adhere to:
The most surprising for us was probably not being able to take any of the cleaning products we had with us. We expected not being able to take food and some other things, but the list was more restrictive than expected.
- No flammable or hazardous substances, fuel, pyrotechnics flares, oils, paints, solvents. We had WD40, de-greaser, Engine Coolant and Oil, some paint to retouch the van and none of that could be shipped with the van.
- No pressurised cans or containers of any kind (including fire extinguisher.)
- No cleaning liquids or substances.
- No medical supplies or equipment (we took out our First Aid kit.)
- No perishable or tinned goods or foodstuffs, plants or vegetation.
- No Lithium-ion batteries, even embedded in electronic equipment (unless the whole shipping is declared as “Hazardous” which incurs extra costs).
Additionally, we could not leave any items / valuable items in our vehicle, including:
- Electrical items – laptops, tablets & computers, GPS/navigation devices , drones, hard drives, cameras and camera equipment, printers or similar items.
- Money, credit cards, precious stones or important documents.
- Commercial items, or items for sale.
- Any household items in relation to house moving/relocation.
6. Prepare for drop-off day
Clarify drop-off address with Carrier and unless specifically arranged, don’t expect to see the vehicle loaded in a container there and then. We arranged to drop our vehicle off at the warehouse in Rotterdam at the same time as our container buddies to meet them (as we were catching a ferry back to the UK on the same day!) For us, there were no documents checked or papers to sign when handing over, but this could vary and is worth confirming. We left one set of keys with our van, which was tied inside the container when it was loaded, and took one set with us on our forward journey.
7. Check emails on Shipping day
On the day of shipping, we were informed by email with a tracker code that could be entered into our carrier’s web page/app, that allowed us to track the ship as it departed and made various stops along its trajectory. It also kept us updated with the expected schedule and arrival date at Montevideo port.
We were invoiced on the day of shipping and paid our half of them. (See below for more info.)
8. Pay shipping fees
We paid £3,055.50 GBP to ship our campervan one way. That was the price as of November 2022, but prices vary daily. The total shipping fees were divided into two payments:
- The first was to the shipping company on the day that our ship sailed with our van. (£2,140 for our share of the container shipping cost.) We were sent an invoice and requested to make a bank transfer in Euros as per their request. We used WISE (formerly Transferwise) to do this part and to get the most from our money.
- The second part was made at the port of arrival $1112.35 in US Dollars cash (£915.50 GBP) to the agent once we had fully received our van. We brought the Dollars in cash with us for this from the UK.
(Additional fees can be incurred in the rare event of being quarantined or inspected, or if there are any delays with releasing the container. Complying with the prohibited items list provided by the carrier, having all paperwork to hand and ready, and arriving at destination with time – helped the process go smoothly for us and we had no extra fees.)
9. Organise vehicle insurance before collection
We did not find fully comprehensive insurance for our UK registered vehicle to be touring South America. We did learn that if a vehicle is registered in the US – then it may be possible to get a fully comprehensive insurance with Clements. Clements also insure vehicles from other countries, but only against physical damage to a vehicle (our quote $2,200 for a year). It is possible that other European countries could offer an international insurance that’s fully comprehensive to their own locally registered vehicles – the UK doesn’t seem to.
Insuring third party in Latin America is however cheap, easy and a legal requirement. We went with Allianz in Argentina for $87 for 4 months, taking their expanded Mercosur insurance which covers third party in Brasil, Uruguay, Paraguay, Argentina, Chile, Bolivia and Peru. We also decided to get our windows smash-proofed in Buenos Aires as extra reassurance to cover risk of theft.
Arrival in South America : Our checklist
We arrived in Montevideo before our campervan’s anticipated arrival date by ship. Our shipping agent linked us up with the local agent before we arrived, which helped us prepare for our first visit to their office.
- On our first visit, we had to bring: Vehicle registration document, Driver’s licence, passport, Proof of Mercosur insurance (Green Card) and a Certficado de Llegada. (See below)
- We were asked to go to Direción Nacional de Migración and complete a Certficado de Llegada (Certificate of Arrival) that proved I am not a resident and can complete a temporary vehicle import as a tourist – (cost 303 Uruguayan Pesos – £6.40/$7.80 Nov’22). Arriving there at opening (9am), it took 3 hours to obtain.
- On that day we confirmed the total amount payable when collecting our vehicle. Our share of the container fees were US $1123.32, which included the agent fees. (This was paid in US dollars cash on the pick up day.)
- After submitting these documents, we had to wait two more days before our vehicle was ready to be collected. It’s worth noting that although great, some agents will speak very little English and therefore, if there are questions, it is better that they are asked by email – to give them time to translate and answer them.

10. Prepare for pick up day
The big day! We had all our documents with us, including our Certificado de Llegada and our US Dollars too to pay the import fee. We were given a hard hat and safety equipment to enter the port before we were taken to the container section. We had to wait for our container to be located and vehicle to be unloaded (including breaking container seal) which they did in front of us and we filmed by smart phone.
- Container was opened in front of us and straps and choks were removed.
- Vehicle was then extracted and we were given the keys. ********
- We then drove the vehicle with our agent to customs, signed various forms including an Aduanas form entitled: ‘Declaracion Jurado de ingreso y circulacion en Admission Temporaria de vehiclos incluidos en el Decreto 477/984,’ (This is the vehicle’s passport to be with us at all times while in Uruguay that should be signed out with a stamp when exiting the country). Our vehicle was only superficially inspected by customs this time around.
- Our campervan was then ready to drive away. This was the time to pay all the fees to our agent and he gave us all the relevant invoices in exchange.
- After this, we remembered to drive on the right side of the road and straight to the nearest petrol station, which is an Axion, about 3 mins away!
********A note on this and it’s an important one. Our vehicle arrived with a flat battery and so was pushed out of the container. A helpful worker from the port went off to get his forklift to help us to jump start the vehicle and unfortunately his truck went into the side of our van! Luckily, we could still have full use of the door he hit, but there was damage caused. It had apparently never happened before in our agent’s experience, but we realised that the delivery note of receipt of vehicle (Salida de Deposito – Viaje) should only be signed once happy that it is fully operational and in mint condition. We took out marine insurance, so had a report made about the incident before we left Montevideo port and are now processing a claim against transit company’s insurance with their help. ********

Summary Of Shipping
All in all, it was a long and complex process to ship our van from Europe to South America, but we learnt a lot. At first we didn’t know if it would be possible, so we were happy to discover it was and then make it a reality. Are we happy we did it? Definitely – we are now in Patagonia, Argentina, exploring. We are not sure yet if we will ship our van back at the end of the trip or sell it on whilst here, we will make that decision later on in our trip. Any questions let us know below, we are happy to help you.